


In this blog post, I'll share my experience of migrating a project from Supabase to Prisma. My project heavily relied on Supabase for database (DB) management, authentication, row-level security (RLS), and real-time changes.
The main reason for this migration was the client's requirement to host the database on AWS and decouple from Supabase.
Additionally, Prisma's ability to switch databases by merely changing the URI string was a main factor.
Understanding Prisma: Prisma ORM serves as a connector between your application and the database. It ensures that your database remains structured and validates any new changes. Prisma also offers type-safe functions for CRUD operations based on your defined DB schema.
Setup: The setup process for Prisma was straightforward.
Initial Configuration:
Running
npx prisma init: This command creates a.envfile for adding the DATABASE URL STRING. It also generates a Prisma directory with aschema.prismafile, where you define your database schema.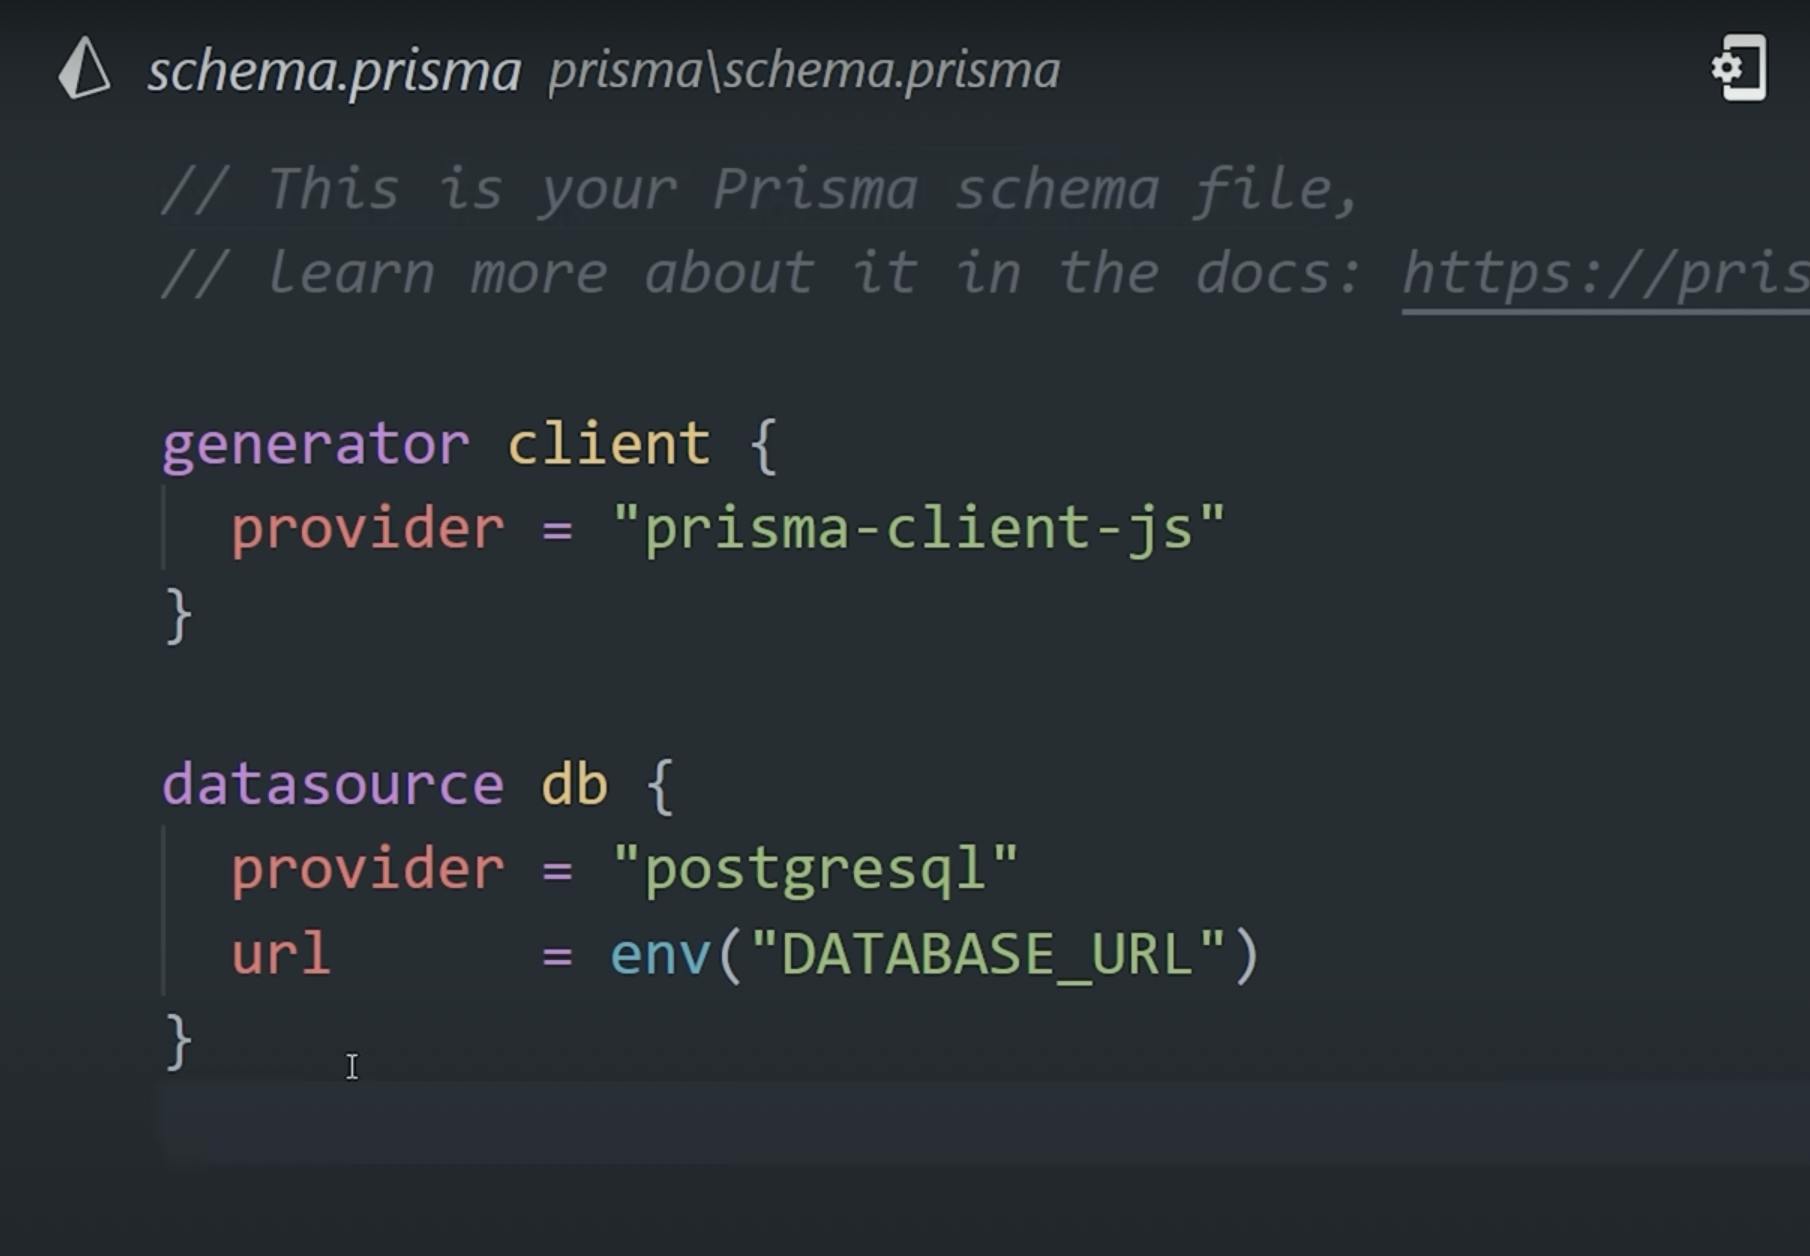
Schema Migration:
- Since my app's schema was already defined in Supabase, I added my database URL string in the
.envfile and executednpx prisma db pull. This step automatically pulled the schema from Supabase and translated it into Prisma's format.
- Since my app's schema was already defined in Supabase, I added my database URL string in the
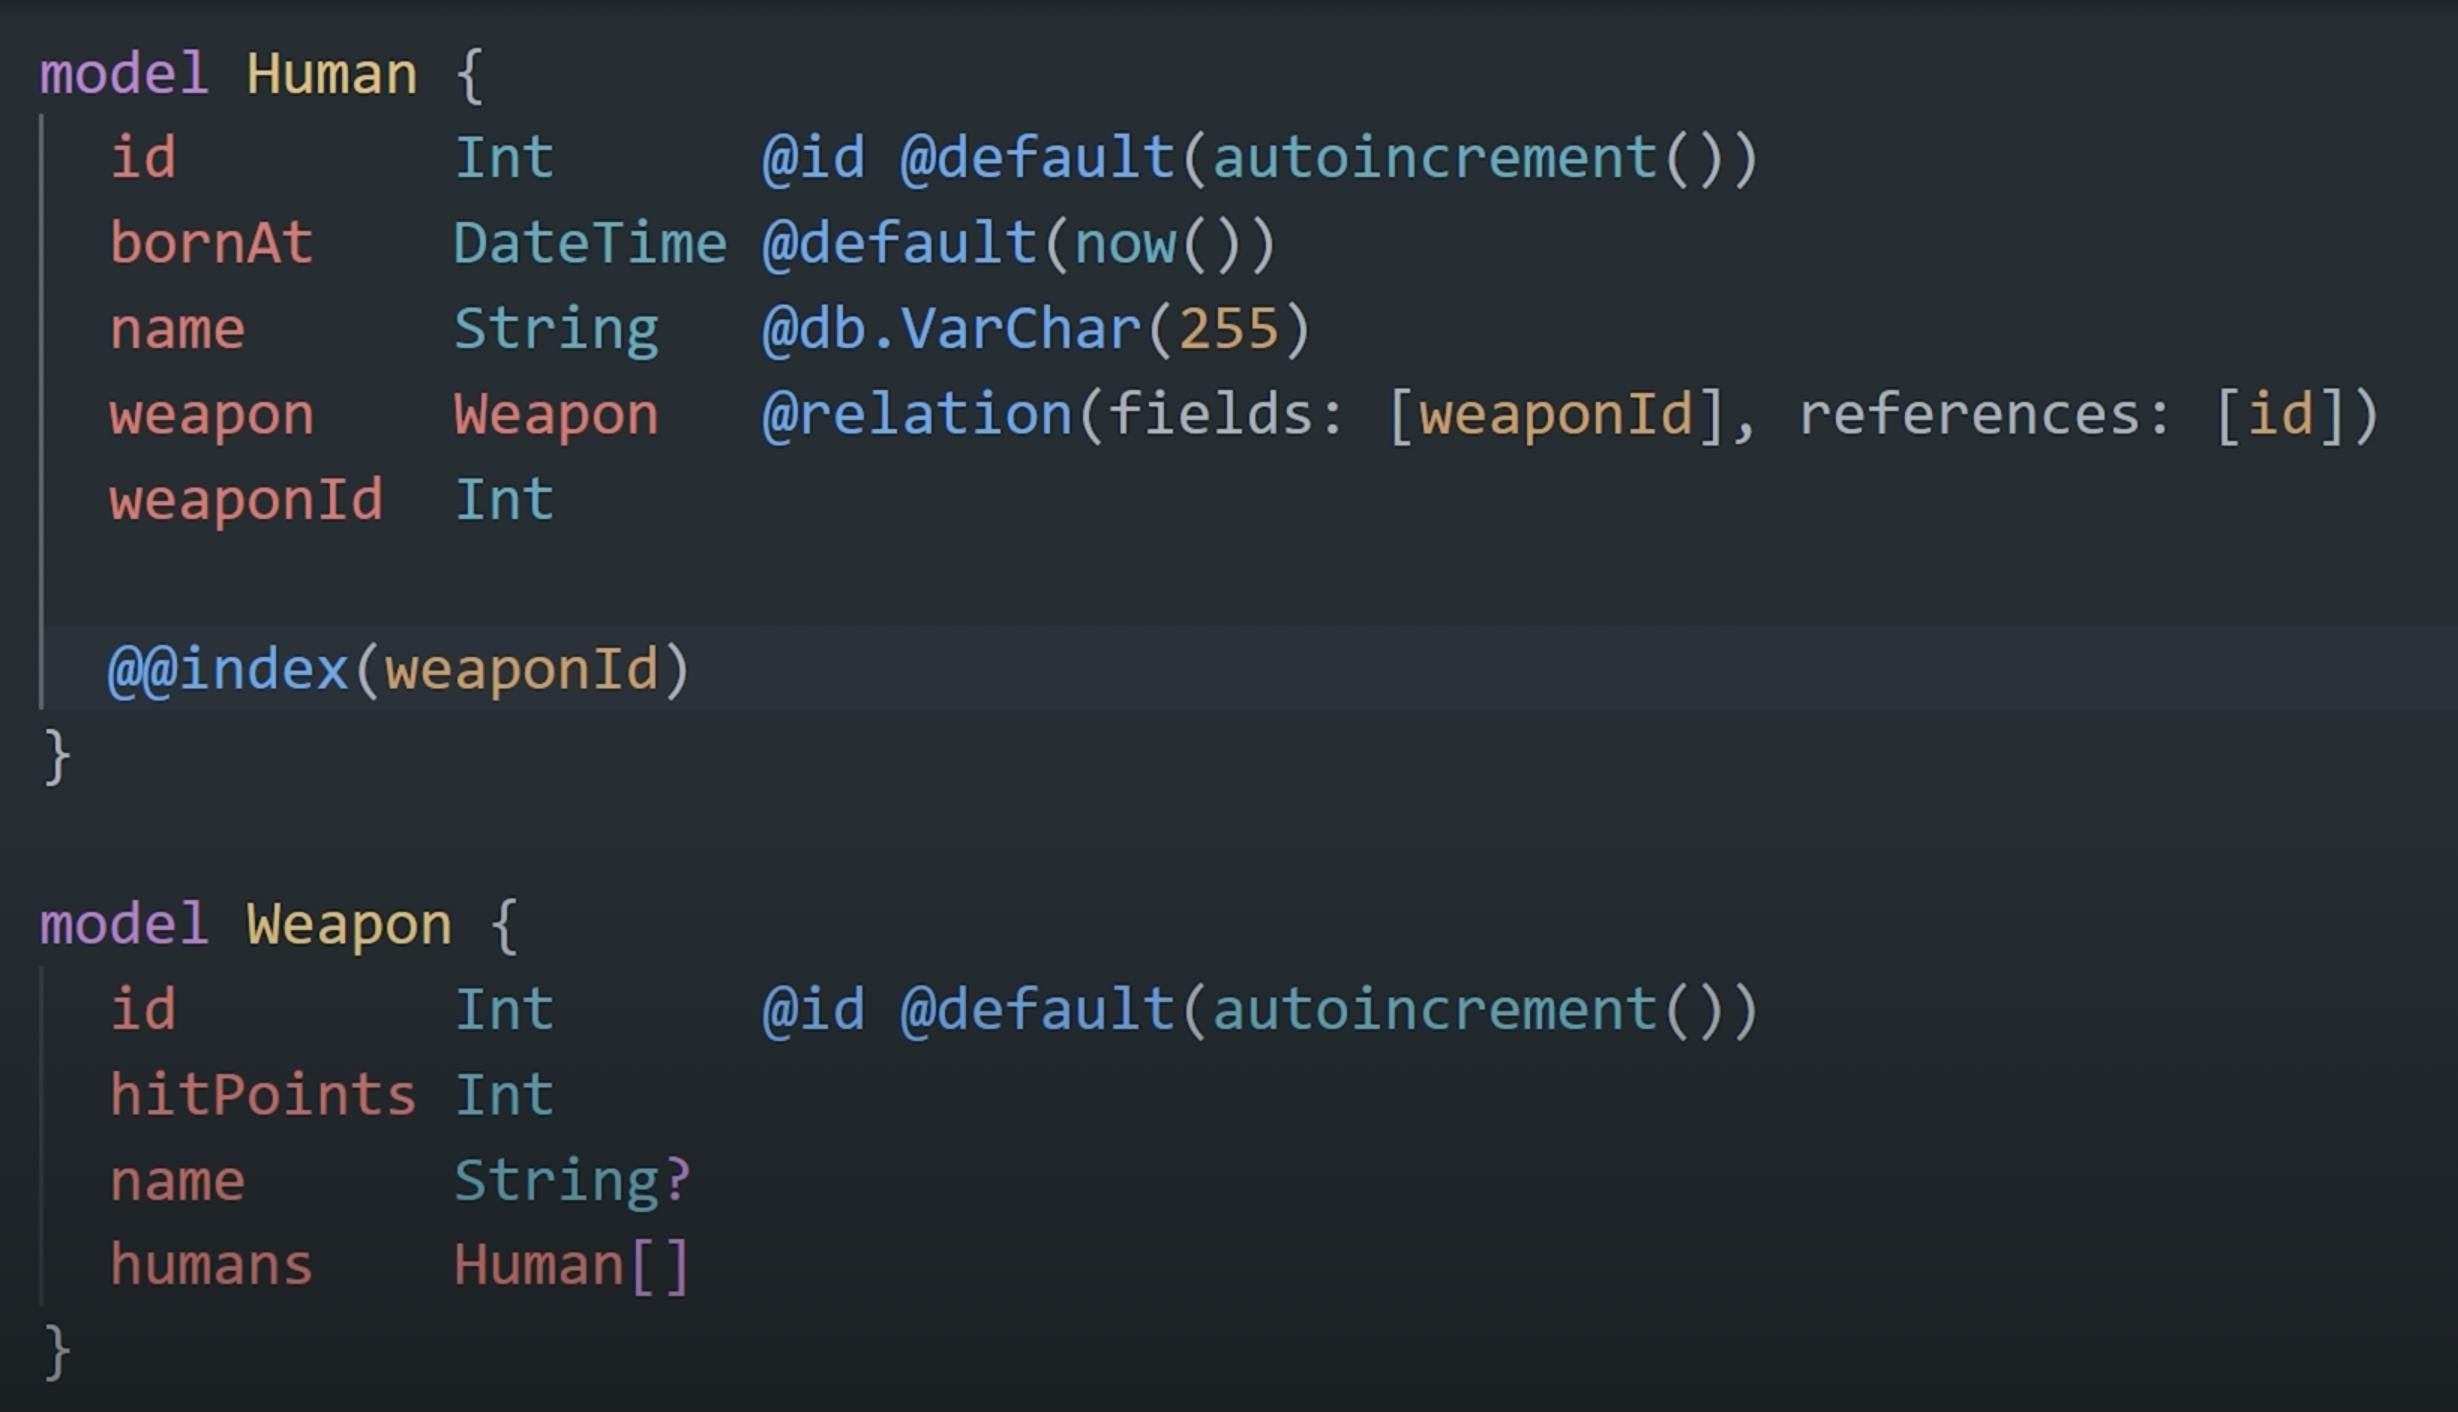
Understanding Prisma's Basics: In Prisma, each database table is represented as a 'model'. Within the model, each line represents a table column, specifying its name, data type, and any optional constraints. For an introduction to Prisma's data types and constraints, I recommend this video tutorial: Prisma in 100 Seconds
Database Migrations: Any modifications to the schema.prisma file require updating the changes in the database structure. This is done by running npx prisma migrate. Prisma handles these migrations smoothly and saves all migration files in the Prisma directory under the 'migrations' subdirectory. This feature makes tracking and reverting specific database changes quite efficient.
Generating the Prisma Client:
To interact with the database for CRUD operations, run
npx prisma generate. This command generates a client library with all the type-safe CRUD functions. You can then import this library into your files and access the models using Prisma, benefiting from autocomplete features for model names and column-specific functions.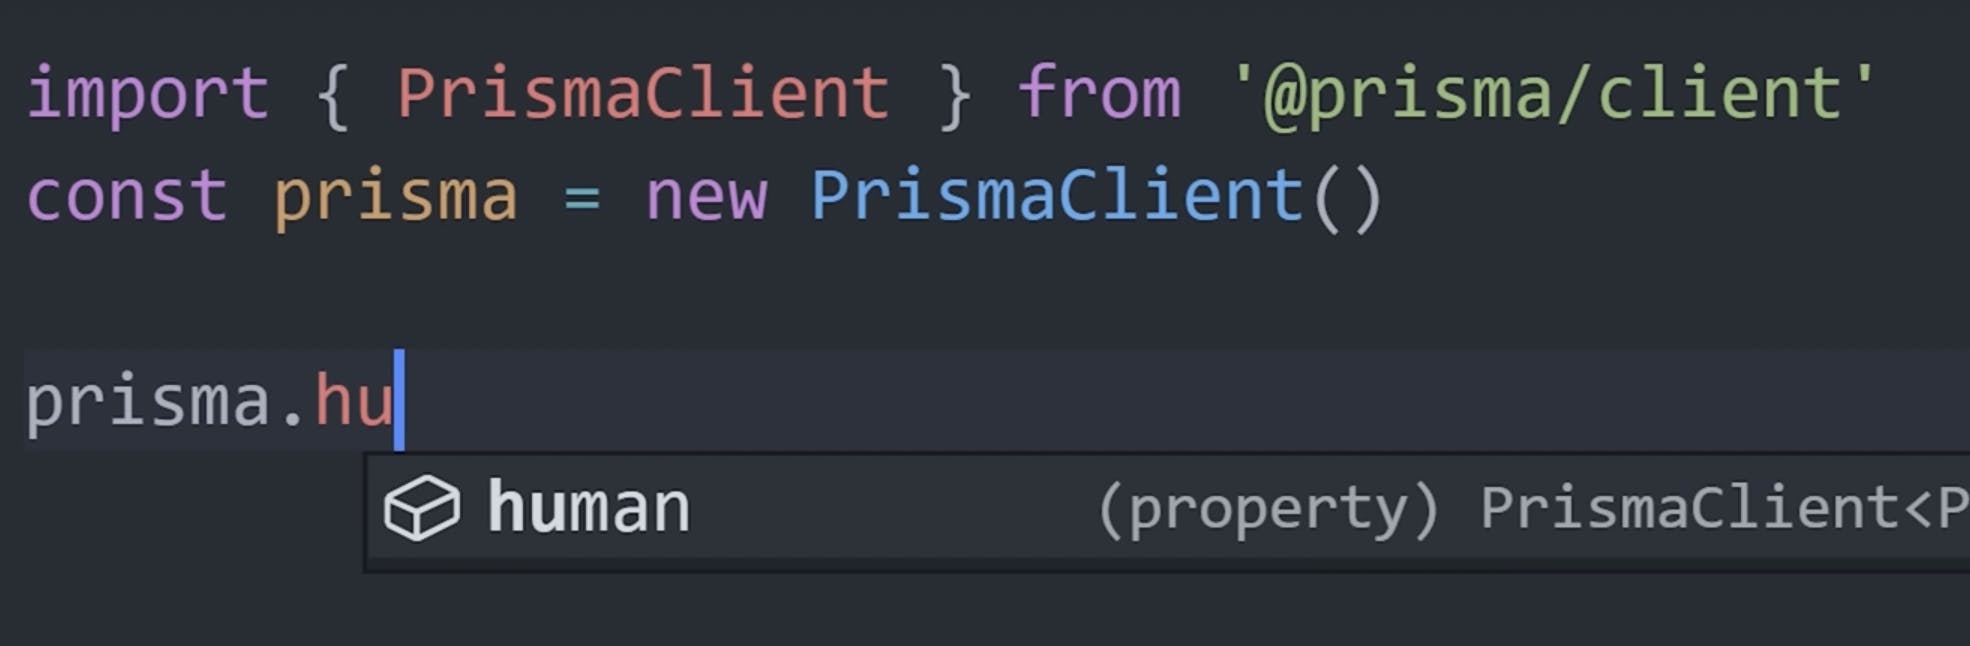
Replacing Supabase with Prisma: My next step was to replace all functions that used Supabase with the Prisma client. ChatGPT greatly speedup this process, as the basic logic for these functions was already there. For instance, here's how I transformed a function to fetch articles:
Before (Supabase):
const getArticles = async () => {
    const supabase = initializeSupabase();
    const { data, error } = await supabase
        .from("articles")
        .select("*")
        .order("created_at", { ascending: false });

    if (error) {
        throw error;
    }
    return data ?? [];
};
After (Prisma):
const getArticles = async () => {
    const session = await getServerSession(AuthOptions);
    const articles = await prisma.articles.findMany({
        where: { user_id: session?.user?.id },
        orderBy: { created_at: 'desc' },
    });
    return articles;
};
Implementing Authentication: For authentication, I integrated Next-Auth with an email and password provider, which was quite simple to set up. Next-Auth handles the entire authentication process, including signup/sign-in flows, token, and session management.
Testing: Finally, I thoroughly tested all the flows and endpoints to ensure everything was functioning correctly.
All the images above are used from Prisma in 100 Seconds by Fireship.